How to Use the NYC Subway: A Beginner-Friendly Guide
The NYC subway can look bewildering on your first visit: letters, numbers, different entrances, and trains that skip stations. Fortunately, you do not need to memorize the whole map. For almost every journey, you only need five things: your destination station, a train letter or number, the direction it travels, whether it stops where you want, and a way to pay. This guide takes you from the sidewalk to your exit, with simple examples and a backup plan for when service changes. New York’s subway runs around the clock, although individual routes and stopping patterns can vary by time of day. Being able to navigate the subway also makes it easier to reach the landmarks and neighborhoods in our guide to the best things to do in New York City, without relying on taxis for every stop.
1. Plan Your NYC Subway Trip Before You Leave

Open the official MTA website or MTA app and enter your starting point and destination. Google Maps and Citymapper can also suggest routes, but check the MTA’s live alerts when there is a disruption. Write down the train letter or number, direction, boarding station, destination station, and any transfer. For example, note “downtown 1 train to WTC Cortlandt,” rather than simply “go south.” If you are putting together a day of photography stops, our NYC Instagram photo spots guide can help you choose which locations to group into a practical route before checking the trains between them.
An NYC subway map shows routes across Manhattan, Brooklyn, Queens, the Bronx, and nearby connections. Travelers sometimes search for an NYC metro or metro NYC map; locally, the system is called the subway. The colored lines help you see route corridors, but the letter or number identifies the actual service you need. Select your destination by its station name, not just the nearest-looking dot on the map.
Example: From Times Sq–42 St to the southern edge of Central Park, a typical option is the uptown 1 train to 59 St–Columbus Circle. Check current service before starting; this is an example route, not a guarantee during diversions.
2. Find the Correct Subway Entrance

Look for the familiar subway entrance stairs and signs listing route letters or numbers. One station name can cover several lines, passageways, and entrances. Before you go down, read the sign over the specific staircase: some entrances are marked Uptown or Downtown and lead only to trains in that direction. Other entrances provide access to both directions through a shared concourse.
If the sign shows the wrong direction, stay above ground and look for a different entrance, sometimes across the street. Do this before paying; not every station allows you to cross from one direction’s platform to the other without exiting the fare-controlled area. A shuttered staircase is not necessarily a closed station—check another entrance and follow posted notices.
At large complexes, follow overhead signs rather than assuming the closest staircase leads to your train.
3. Understand Uptown, Downtown, and Borough-Bound Signs
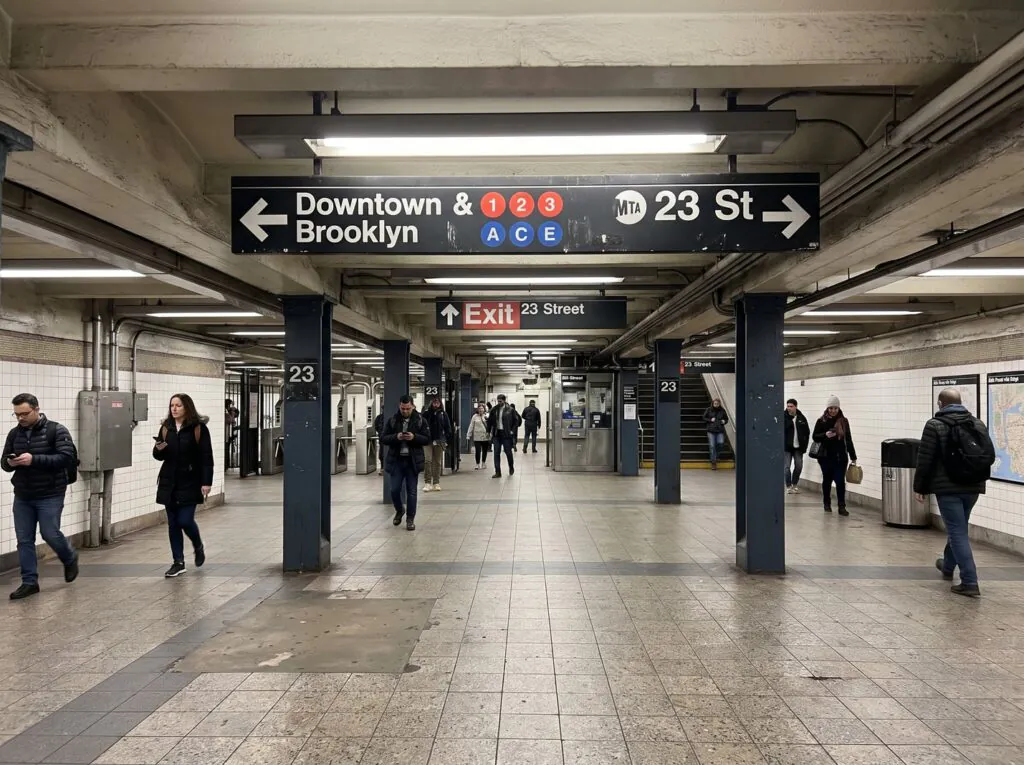
In Manhattan, uptown generally means north, toward higher-numbered streets; downtown generally means south, toward lower-numbered streets. Outside Manhattan, signs often describe the direction by borough or terminal: Manhattan-bound, Queens-bound, or Brooklyn-bound. These are directions, not different ticket types.
For a Midtown-to-World Trade Center trip, you want a downtown service. For a trip from Times Square toward Columbus Circle and Central Park, you want uptown. The train’s destination sign may show the route’s final stop rather than “uptown.” Match the route, platform-direction sign, and approaching train.
If you cannot tell which way a train is going, look at the first two stations it will reach on the map. If they move you away from your intended stop, you are on the wrong side.
4. Pay with OMNY and Pass Through the Turnstile
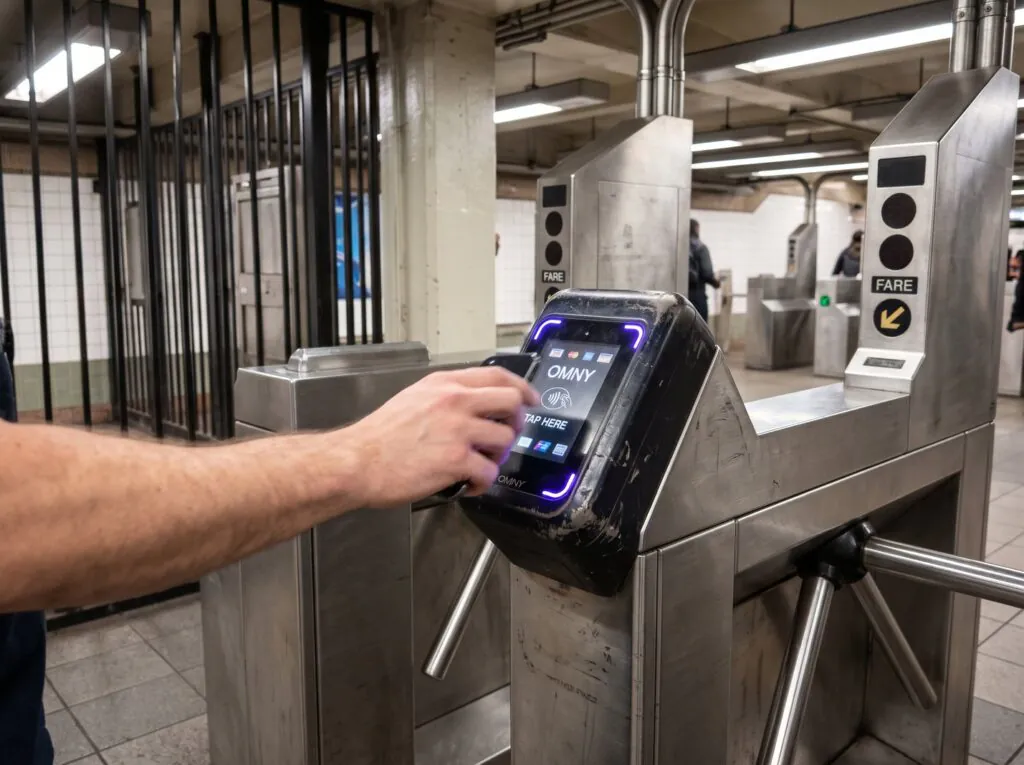
The simplest payment method for most visitors is OMNY, the MTA’s tap-and-go system. At the subway turnstile, tap a contactless credit or debit card, a supported phone or watch wallet, or a reloadable OMNY card on the reader. When it displays GO, push through the turnstile. You do not need to download an OMNY app or create an account just to pay.
Current standard subway fare: $3 per ride. With eligible subway and local-bus trips paid using the same card or device, the MTA’s rolling seven-day fare cap is $35. A phone, watch, and physical card are treated as different payment methods even if linked to one bank account, so pick one and use it consistently. For a family, separate payment methods make individual fare-cap tracking easier. The cap does not mean all group taps are pooled.
MetroCards have been in transition: new sales and refills stopped January 1, 2026. At the time of research, existing valid cards can still be used while the MTA has yet to announce the final acceptance date. New visitors should plan around OMNY rather than trying to buy a MetroCard. If contactless payment fails, try another eligible payment method or check how to purchase an OMNY card at an MTA vending machine or participating retailer. Verify current fares and policies before publication and travel.
5. Read Train Letters, Numbers, and Platform Signs

A station can have multiple services. The route is the letter or number inside a colored circle or diamond; the color is a broader line-family clue, not permission to board any train of that color. Two routes sharing a color can take different branches or skip different stops. Read platform signs and the front or side display on the arriving train.
Stand where you can see the train designation without crowding the platform edge. Compare that designation with the one your trip planner gave you. Also check station announcements, because a train may temporarily use a different platform or route. If the train that arrives has a different letter or number, wait until you have confirmed that it serves your station.
The MTA’s riding guide explains this difference and shows real platform signs—prefer these official visuals to an AI-created “subway map.”
6. Know When a Local or Express Train Will Stop
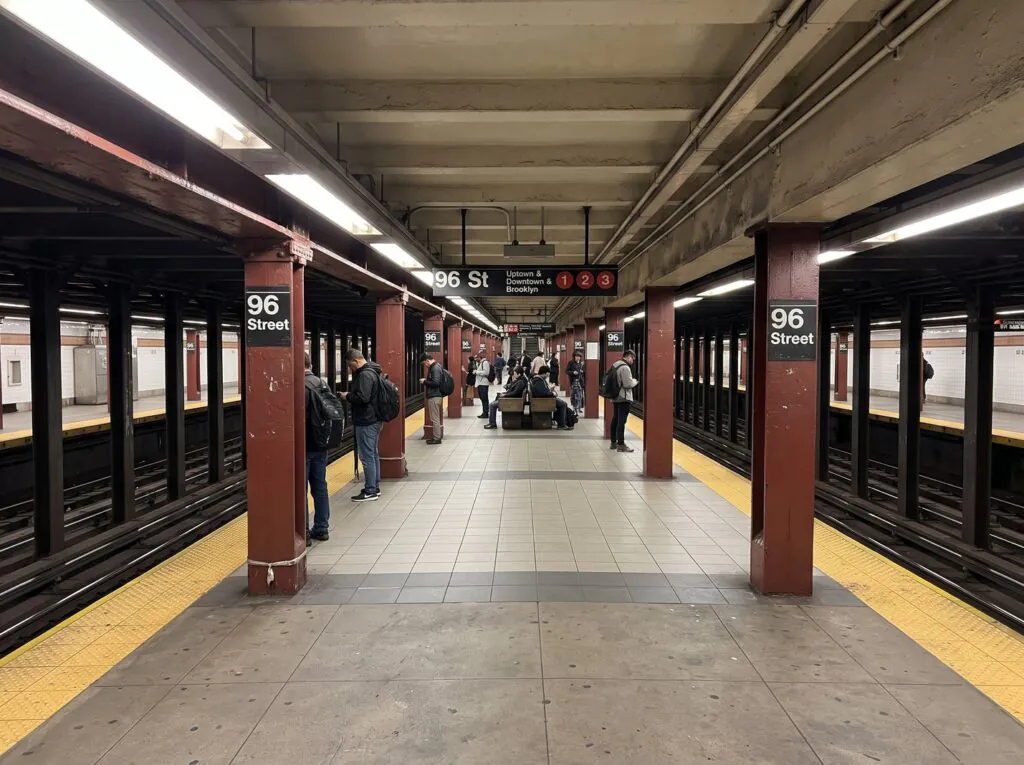
Local trains stop at more stations; express trains pass some stations to serve major stops. Whether a particular route is local or express depends on where and when it runs. An express can be the wrong choice even when it travels in the correct direction. On the map, confirm that your intended stop is served by the train you plan to board.
For example, from Times Sq–42 St to 59 St–Columbus Circle, the 1 is the straightforward local choice. Do not board an uptown 2 or 3 simply because they share some of the same tracks in Midtown: those services do not normally stop at Columbus Circle. During track work, trains may operate local or express unexpectedly, so an announcement overrides your saved route.
If you accidentally pass your stop, get off at the next station where the train actually stops and follow signs for the opposite direction. Check whether the platforms connect inside the paid area before crossing over.
7. Board, Follow Stops, and Stay Oriented

Wait behind the platform’s marked edge. Allow riders to get off first, then board promptly and move away from the doors. On board, hold a pole or rail; sudden braking is normal. Follow the announced stop names, any electronic display, and your phone’s route progress. Subway cars vary, so not every train has the same type of digital map.
Keep an eye on the next stop, not only your final destination. If you hear an unexpected announcement such as “this train is running express,” check what stops will be skipped. The system runs 24 hours a day, but individual routes, service frequency, and station access are not identical at all hours. Late-night and weekend travel particularly warrants a fresh check.
When your stop is next, gather your belongings and move toward the doors without blocking other passengers.
8. Transfer Between Lines Without Getting Lost
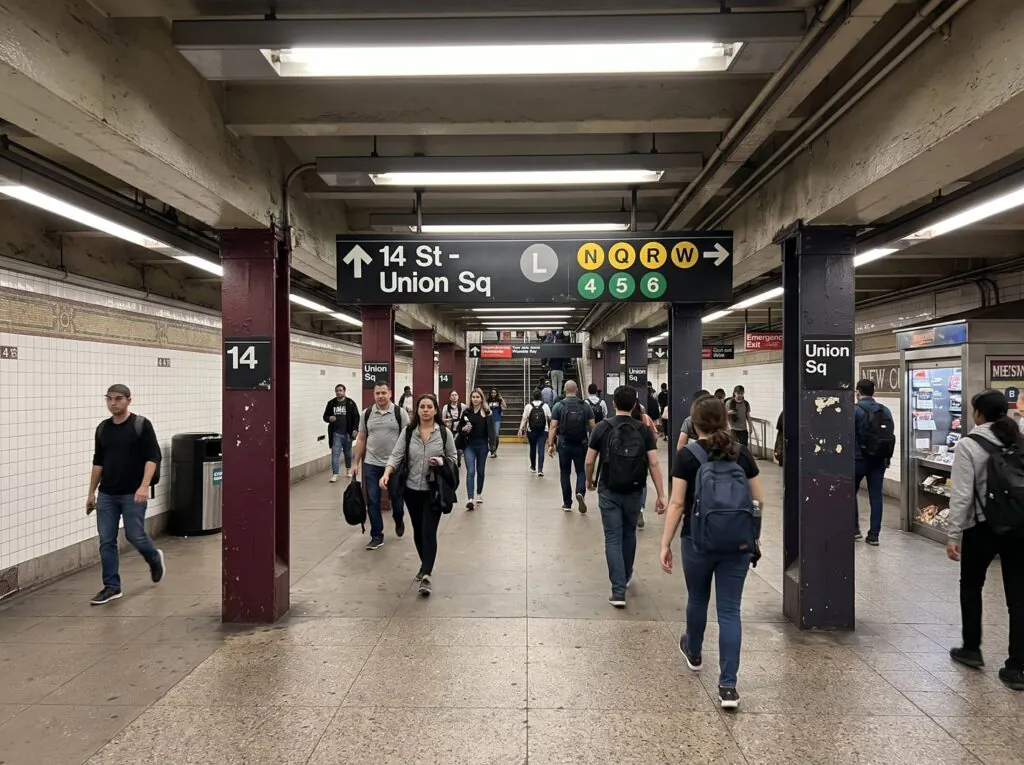
A transfer means changing from one train route to another. Your planner might say “transfer at 14 St–Union Sq.” Get off, stay inside the paid area, and follow overhead signs for your connecting letter or number and direction. On an ordinary in-station transfer, you do not tap again; you already paid when you entered the subway.
A few trips require walking outside to another station, and not every out-of-system connection is free. Do not assume a second tap will be covered merely because your app calls it a transfer. The usual OMNY free-transfer rule applies to qualifying subway-to-local-bus, local-bus-to-subway, or local-bus-to-local-bus journeys within two hours when using the same payment method; it does not make every separate subway re-entry free.
At complicated stations, stop beside a wall or sign to review directions, keeping the center of passageways clear. If a change is announced midjourney, use the MTA app to recalculate rather than improvising across the entire map.
9. Exit at the Right Stop—and Fix Common Mistakes
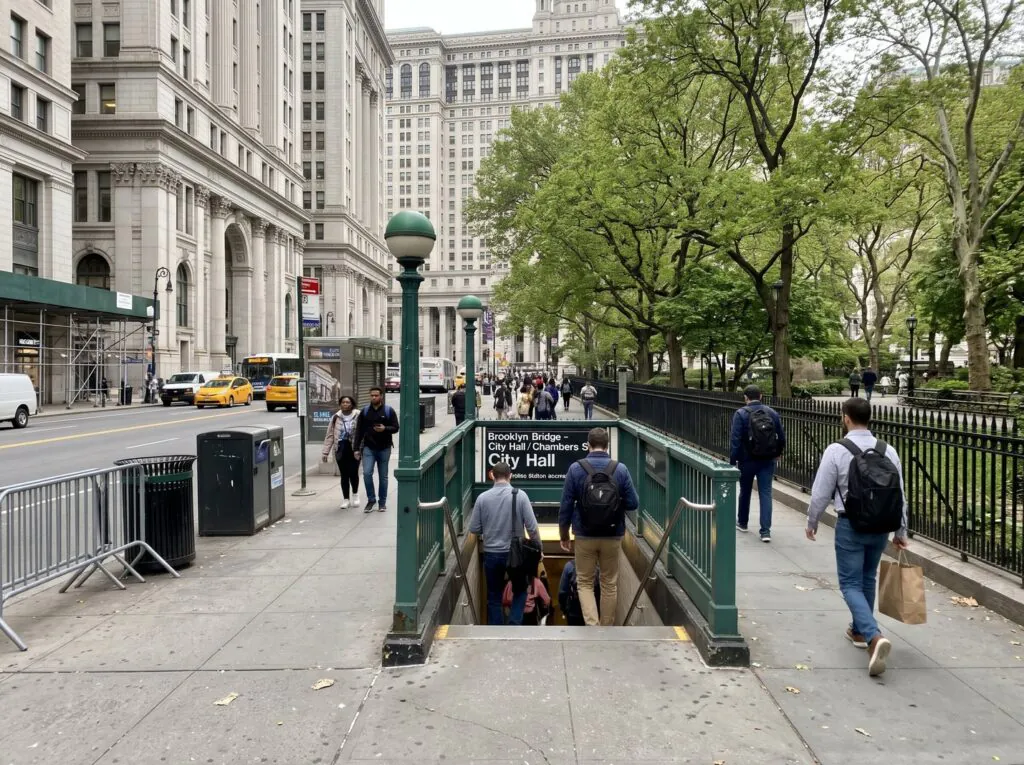
After you leave the train, follow Exit signs toward the street. Large stations may have several exits on different corners; compare posted street names with the side of the avenue you want. If you emerge facing the wrong direction, reorient using the street signs rather than going back through the turnstile.
Wrong-way train? Get off at the next safe stop and switch to the opposite platform if there is an in-station connection. Missed your stop or took an express? Check the next stopping station, then retrace your route. Wrong entrance? Look for an internal crossover; if there is none, ask station staff what re-entry or alternate connection is available before assuming the second tap will be free. Reroute or closed entrance? Follow posted signs, listen to announcements, and use the MTA service-change page.
For personal assistance, look for a station agent or a blue MTA Help Point. Use its information function for routine questions and its emergency function only for urgent situations.
10. Ride Safely with Luggage, Strollers, or Mobility Needs
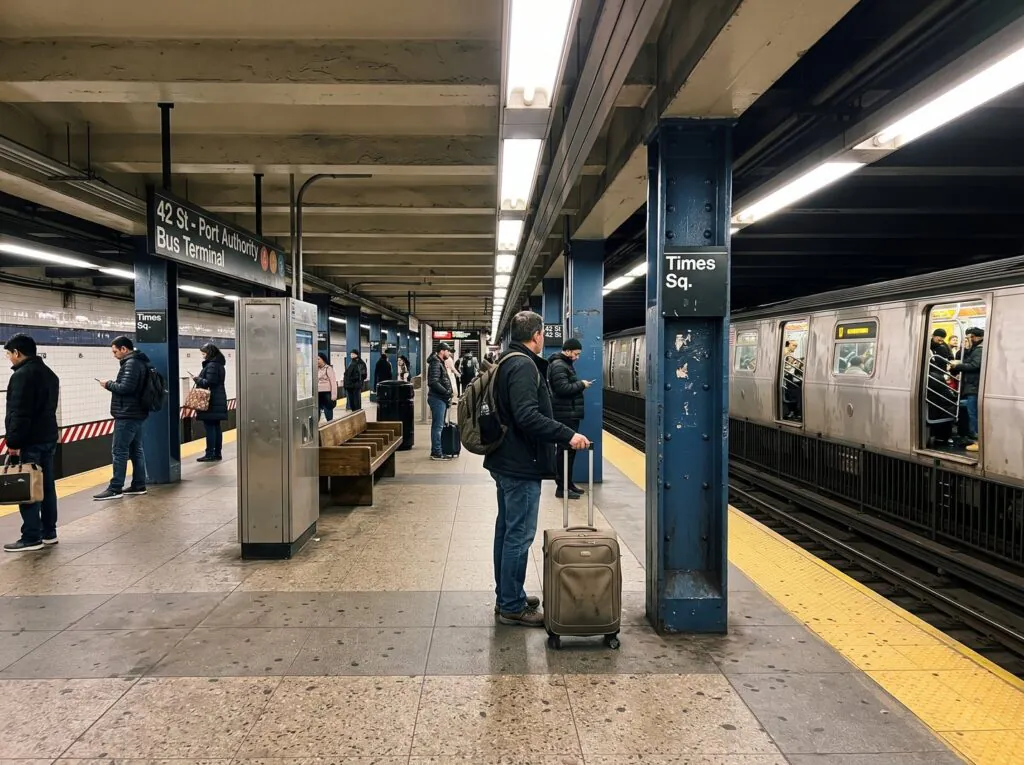
The subway is everyday transportation, not an attraction that requires elaborate precautions. Keep your phone and wallet secure, stay aware of your surroundings, and avoid blocking the doors, stairs, or seats with bags. Make room for others, offer priority seating to anyone who needs it, and never step onto the tracks—not even to retrieve something you dropped. Notify an MTA employee instead.
For large suitcases and strollers, choose manageable stations and avoid crowded commuting periods when practical. Not every NYC subway station has step-free access, and an elevator can be temporarily out of service even at a station listed as accessible. Plan a fully accessible route in the MTA app when needed, then check station-specific elevator updates again before setting out. Accessible routes may require multiple elevators.
At night, consider a busier train car, stay alert, and check that your intended service is actually running. The MTA recommends the center of the train for riders with personal mobility devices or strollers when there is no designated boarding area, since the conductor is typically nearby. If you plan to explore the city after dark, our guide to NYC at night offers ideas for evening stops; plan the journey home separately and check late-night subway service before setting out.
Practical Planning: Your First-Ride Cheat Sheet
Before leaving: Save your route, station entrance, travel direction, final stop, transfer, and a backup option. Check the MTA subway map and alerts shortly before departure; a screenshot of a route is useful, but live notices are more authoritative when the service changes.
At the entrance: Read the stairway sign for your route and direction before tapping. Use the same card or device every time if you want eligible rides counted toward your personal weekly cap.
On the platform: Match the letter or number, direction, and whether the train stops at your destination. Stand back from the edge and give exiting riders space.
On the train: Follow announcements and the next stop. When in doubt, pause at the next station instead of staying aboard a train you know is going the wrong way.
Three simple route examples
| Journey | Typical subway plan | Get off at |
| — | — | — |
| Times Square → Central Park (southwest corner) | Uptown 1 | 59 St–Columbus Circle |
| Times Square → SoHo | Downtown R | Prince St |
| Times Square → World Trade Center | Downtown 1 | WTC Cortlandt |
These examples reflect ordinary route maps, not a live timetable. For the Brooklyn Bridge’s Manhattan approach, a typical option is the downtown R to City Hall, followed by a walk toward City Hall Park. Verify each journey against official MTA service information when you travel. For a neighborhood visit, the Times Square–SoHo example above also pairs well with our SoHo NYC guide, which can help you decide what to see after you reach the area.
Final Thoughts
The NYC subway may feel complicated at first, but riding it becomes much easier once you focus on the details that matter for each trip. You do not need to memorize every route or understand the entire system. Start by finding your destination station, confirming the train letter or number and travel direction, and checking whether your stop is served by a local or express train. Read the entrance sign before tapping in, then use platform signs and onboard announcements to confirm you are heading the right way.
For your first few journeys, give yourself a little extra time, especially if you are transferring between lines or traveling with luggage. Keep your route handy, use the same contactless payment method for eligible fare-cap benefits, and check official MTA service updates before leaving. If you board the wrong train, miss a stop, or encounter a service change, it is usually a manageable detour rather than a ruined journey: get off at a suitable station, check your options, and ask for assistance when needed.
The best way to build confidence is to begin with a simple, direct ride and gradually take on more complicated routes. Before long, what initially seemed like a maze of stations and platforms can become a practical, affordable way to explore New York City on your own schedule.
FAQs About the NYC Subway
Can I use a contactless bank card directly on the subway?
Yes. Tap an eligible contactless card or mobile wallet on the OMNY reader at the turnstile, then enter when the reader approves your payment. You do not need to buy a separate subway ticket first.
What is the difference between uptown and downtown?
In Manhattan, uptown generally means north and downtown means south. The same route travels both directions, so check the platform sign before you enter.
Do I need to tap out when leaving the subway?
No. For an ordinary subway trip, you tap at entry and leave through the exit turnstile or gate without tapping out.
Is the NYC subway open all night?
The system operates 24 hours a day, but not every service operates at every hour. Check the MTA app for late-night route changes and expected train arrivals.
What happens if I get on the wrong subway train?
Get off at a station where the train stops, check the direction you need, and follow signs to an appropriate connecting or opposite-direction train. Ask staff if switching sides requires leaving the paid area.